Products
Solutions
Resources
9977 N 90th Street, Suite 250 Scottsdale, AZ 85258 | 1-800-637-7496
© 2024 InEight, Inc. All Rights Reserved | Privacy Statement | Terms of Service | Cookie Policy | Do not sell/share my information

Open job, and then select the Setup tab.
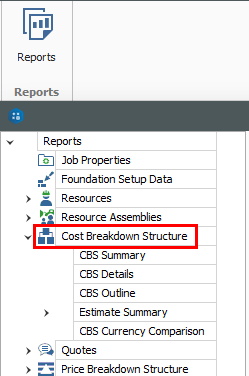
Click the Reports icon.
![]()
The Reports tab opens. On the left bar, a Report tree shows of all Estimate adjustable reports.
You can access the Reports menu from the Setup, Estimate, Quote, Price, and Execution tabs.
Select the report of your choice. For this example, select the Job Properties report.

A split page shows with the reports available on the left side bar.
When you select a report from the left side bar, the Output Settings show on the right side of the page where the report settings can be adjusted and the report can then be run.
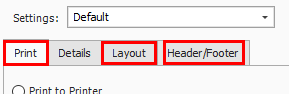
Each report has the following tabs specific to the report:
Layout
Header /Footer
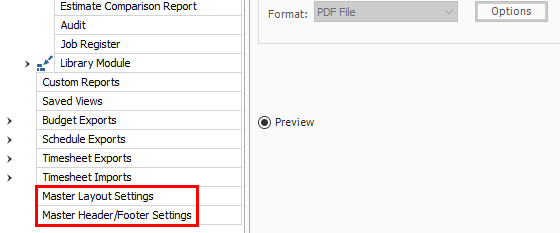
There are also Master Layout Settings and Master Header/Footer Settings located at the bottom of the left-hand side bar tree. You can define settings that apply to all reports.
Open the Training Job and select Setup >Report>Resources.
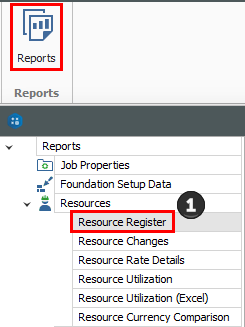
Under Resources on the left side bar, select Resource Utilization.
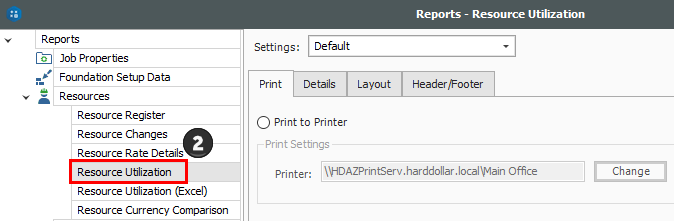
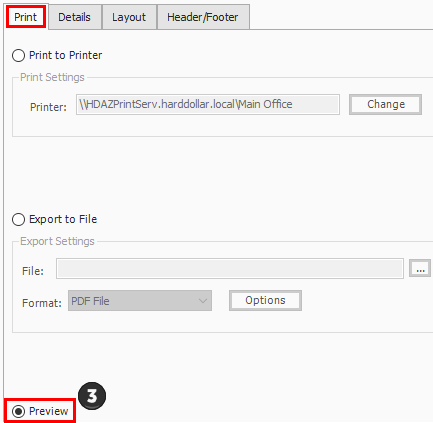
On the Print tab there are three options. A best practice is to always set to Preview so you can review before printing.
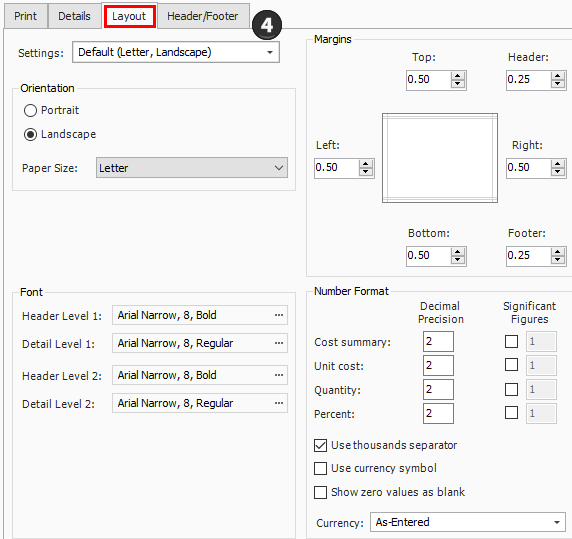
On the Layout tab you can make adjustments based on your preferences.
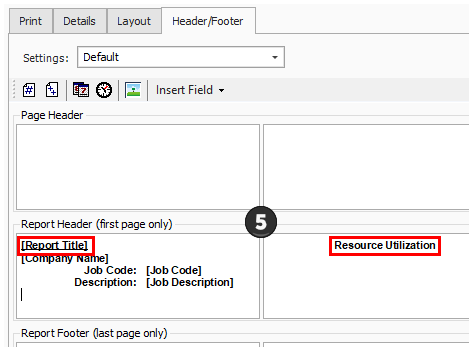
Move to the Header / Footer tab. Remove the default Report Title from the first page Header only and enter Resource Utilization in the center Report Header box as a title that will appear on the first page only.
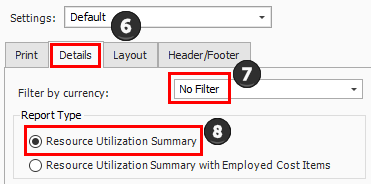
Go to the Details tab, and you can see the details and options you can select to customize and adjust the report.
For this navigation, you will not Filter by currency; leave the selection as No Filter.
Under Report Type, choose the first option, Resource Utilization Summary.
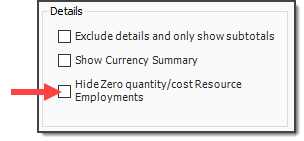
You can choose to select the Hide Zero quantity/cost Resources Employments Details box if you prefer to have your printed report not show any resources that have a dollar value of zero
You can choose if you want the report at a summary level, or if you want it to reference your cost items when you are looking at a resource
If you choose Resource Utilization Summary with Employed Cost Items, it adds CBS position to the structure of the report
You would select this if you wanted to see cost items and resources by the cost item
The Details settings are “sticky” features, meaning they default to what was selected the last time.
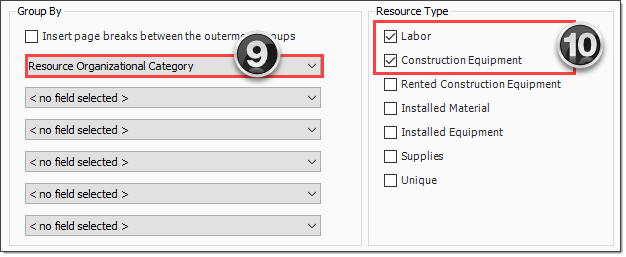
You can use grouping to group by different tags and user-defined fields. Most of them are related to the Resource Rate Register, for example: Geographic Area, Organizational Category, Wage Zone, etc. For this example, group by Resource Organizational Category.
Next, you can choose the resources you want to see. For this example, select the Labor and Construction Equipment Resource Types.
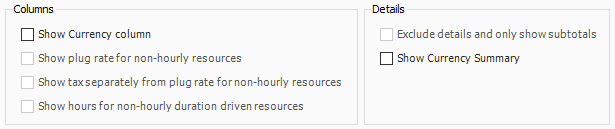
For this example, you will not make any selections under Columns or Details
This is just one of many ways to organize and adjust your report.
Click Run to run the report.
This report can be helpful for seeing your utilization hours, broken down by regular time and overtime hours
Click the red X to close this page and open the Construction Equipment page.
Click the red X to close the Construction Equipment report.
Open the Training Job and select Setup >Reports, then expand the Cost Breakdown Structure node.
Under Cost Breakdown Structure on the left side bar, select Estimate Summary.
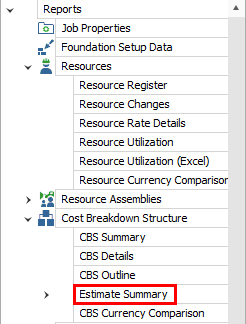
Along with the Print, Details, Layout, and Header / Footer tabs, there is an additional tab called Cost Item Selection. Select this tab.

The Cost Item Selection tab allows you to report on a selection of cost items:
Print a contiguous range of cost items: Allows you to print a series of cost items in a row. In this case, print just items: select 4.1 in the From field and 4.3.2 in the To field.
Select cost items to print from the register below: Allows you to use column filters to select the cost items to include in the report; leave this button unselected.
You can roll up your cost items to a certain CBS level for the report as well, depending on the level of detail you need.
On the Details tab, select Days for Cost item production field 1, and Man-Hours / UM for Cost item production field 2 (this report allows you to report on two production values).
Under Resource Types, uncheck all of the boxes except Labor, ConstructionEquipment, and Installed Material.
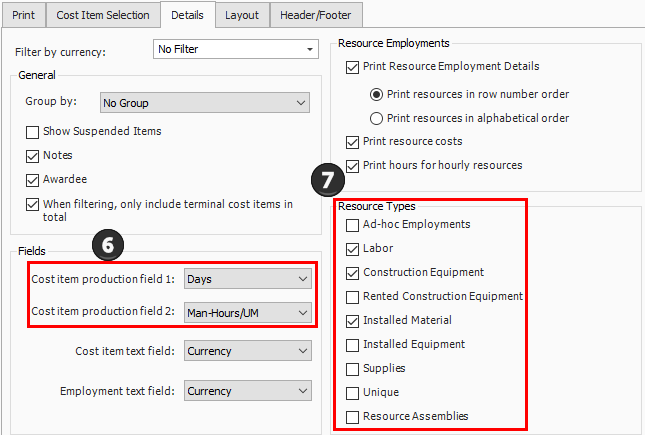
Leave the rest of the settings at their defaults, then select the Header / Footer tab.
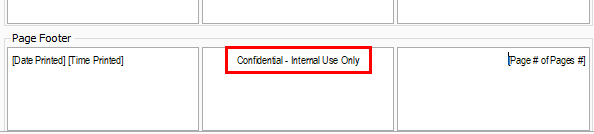
In the center Page Footer field delete the existing text, then type Confidential –Internal Use Only.
To save the settings you’ve configured, click on the Settings drop-down arrow above the output setting tabs.
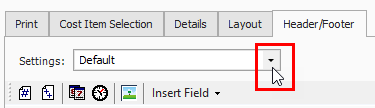
Select the Save disk icon to save the new settings.

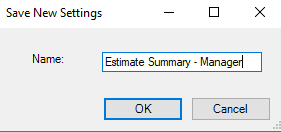
Type Estimate Summary – Manager.
Click OK.
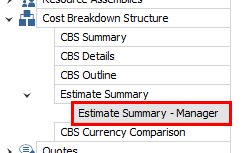
Notice that a custom version of the report now displays under Estimate Summary on the Reports tree on the left
Open the Training Job and select Setup tab, then select the Resource Rates drop-down list.

From the drop-down list, select Labor.
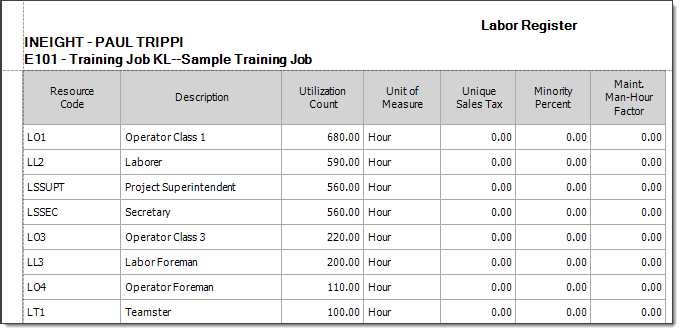
From your Saved Views drop down menu on the Resource Rate Register, select the Print View for Summary view.
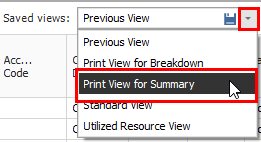
Notice this view includes utilization hours
Right-click on a column header and select Column Chooser.

From the Customization window, drag-and-drop the Minority Percent, Unique Sales Tax, (Scale 2), and Maint. Man-Hour Factor columns into the register.
Close the Customize window.
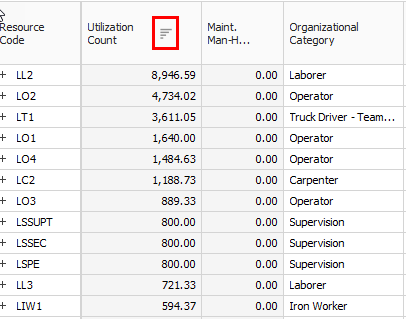
Sort the Utilization Count column by clicking on the column header twice so that you see the bars descending.
This sorts your items so the most utilized resources are at the top
Click on the Saved Views drop-down menu and select the Save disc icon to save the view.
Name the view Labor Utilization View, and then click OK to save the customized view.
From the Actions menu, select Preview to review the report before printing.
Additional Information
9977 N 90th Street, Suite 250 Scottsdale, AZ 85258 | 1-800-637-7496
© 2024 InEight, Inc. All Rights Reserved | Privacy Statement | Terms of Service | Cookie Policy | Do not sell/share my information